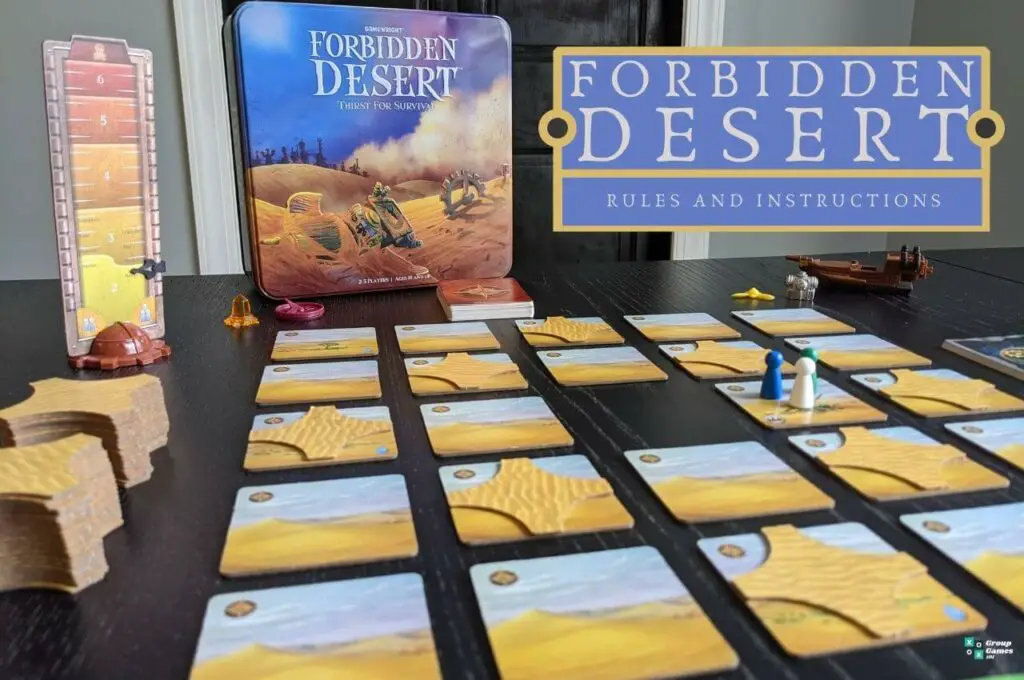
A helicopter crash has abandoned you in the Forbidden Desert, and your only way out is to find 4 missing parts to a flying machine. In these Forbidden Desert rules, you will learn how to find the hidden parts and escape before being consumed by the desert!
In Forbidden Desert, you and your fellow adventurers are excavating the old city under the desert to find the missing parts to your only way out of the desert.
Adventurers must work cooperatively to escape the desert before getting buried in the sand, swept away by a sand storm, or dying of thirst! Do you have what it takes to escape Forbidden Desert?
This Forbidden Desert rules guide will cover the following:
- What is Forbidden Desert?
- What you’ll need to play Forbidden Desert
- Forbidden Desert rules
- How to win Forbidden Desert
- Video Tutorial
- FAQ
- Similar game guides
Learn how to play Forbidden Desert below!
What is Forbidden Desert?
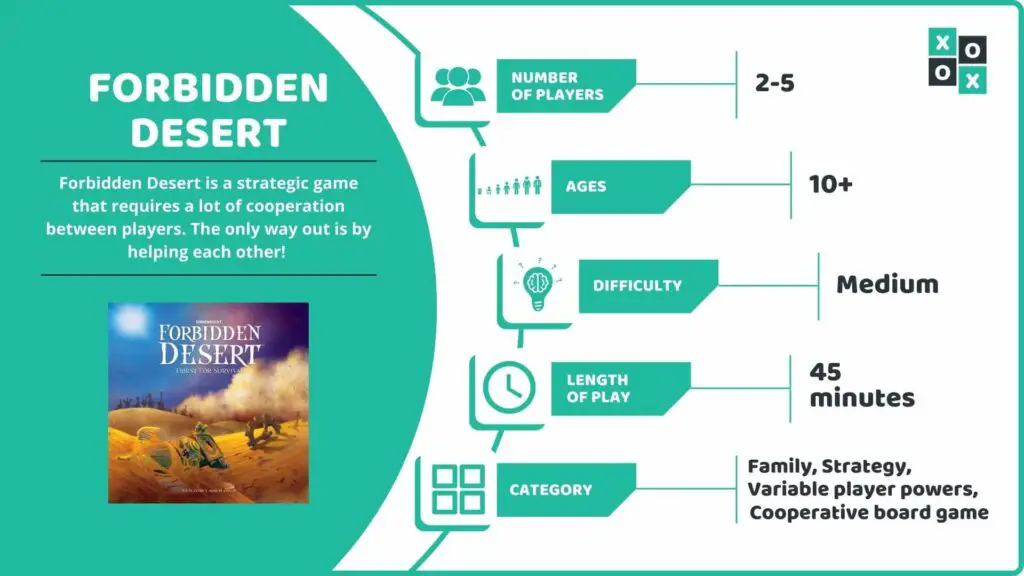
Forbidden Desert is a strategic game that requires a lot of cooperation between players. The only way out is by helping each other!
Along the way, you will find tunnels and equipment to help you survive, but players must keep an eye on their canteen levels and prevent sand from building up before escaping!
Number of players: 2-5
Ages: 10+
Difficulty: Medium
Length of play: 45min
Category: Board game, family, strategy, cooperative, variable player powers
Similar to: Forbidden Island, Fireball Island, Robinson Crusoe
Main Objective: Players must successfully find all 4 missing parts to build the flying machine and escape the desert before it devours them!
Why We Love It: We love that this game requires players to help each other escape and win the game and how each game will be played differently from the last.
What You’ll Need to Play Forbidden Desert
Everything you need to play Forbidden Desert can be found in the box:
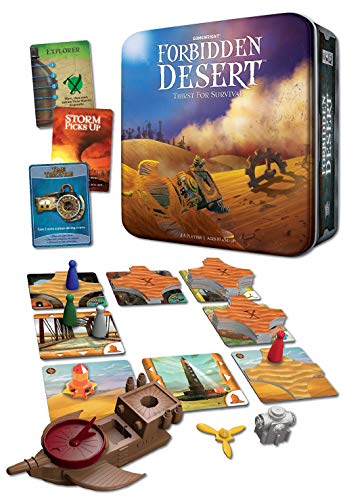
The following components are found inside each game:
- 1 Flying machine model
- 1 Sand storm meter stand
- 1 Sand storm meter
- 4 Flying machine parts
- Propeller, engine, solar crystal, and navigation deck
- 6 Meter clips
- 6 Wooden pawns (orange, black, green, white, yellow, and blue)
- 24 Double-sided desert/city tiles
- 48 Sand markers
- 49 Cards
- 31 Storm cards
- 12 Equipment cards
- 6 Adventurer cards
- 1 Rulebook
Forbidden Desert Rules
Game Setup
Follow these simple instructions to set up a game of Forbidden Desert:
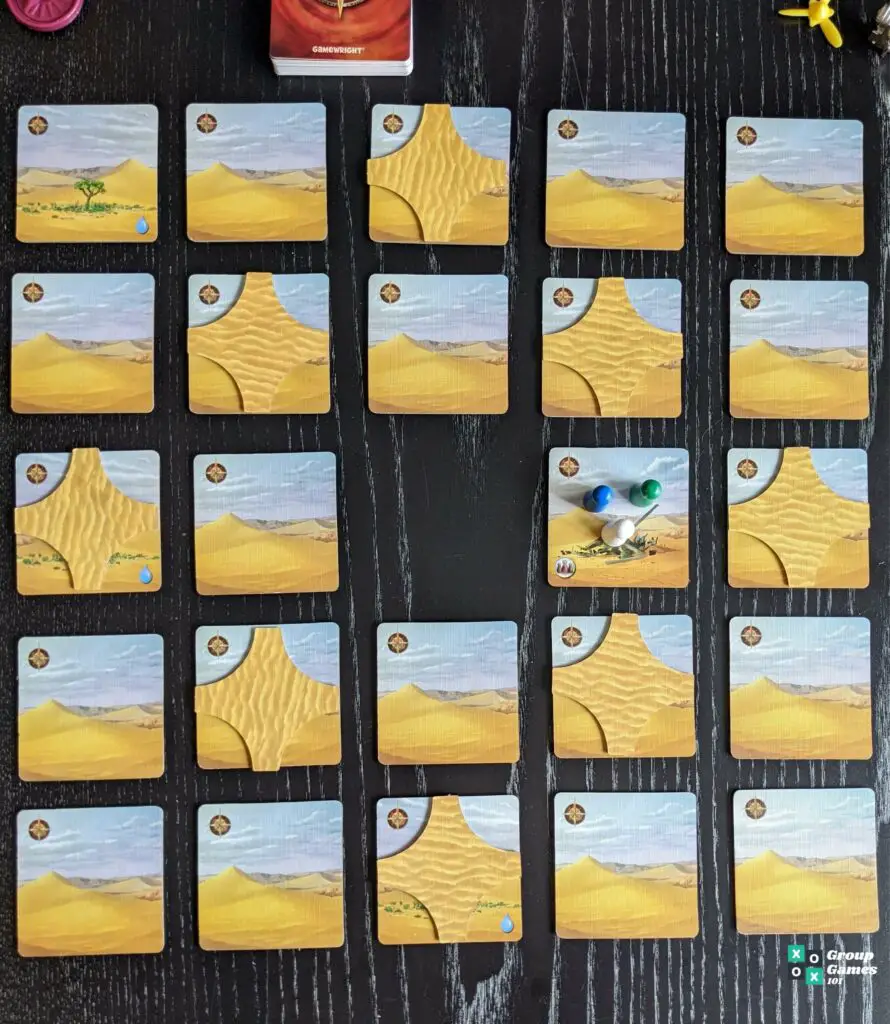
- Take all of the desert/city tiles and shuffle them with the desert side face-up. Randomly place them in a 5×5 square grid while leaving 1 space open in the middle of the square with no tile.
Be sure that all tiles are facing the same direction with the compass shown on the top left of each tile, and be sure to leave a small amount of room in between each tile which makes it easier to flip tiles over.
- Take 8 sand markers and place them (lighter color face-up) in a diamond shape on the square grid.
To make a diamond shape, there should be a sand marker on every middle tile on each outer row/column of the desert/city tiles, then fill in the diagonal desert/city tiles with the remaining 4 sand markers to connect all the sand markers into a diamond.
Then, place the remaining sand markers in a pile next to the board.
See picture below for reference.
- Disassemble the flying machine’s four “missing” parts (propeller, engine, solar crystal, and navigation deck) and place them near the game board. Players will be searching for these parts throughout the game.
- Place the Sand Storm meter into its meter stand. On the bottom of the Sand Storm meter (double-sided), you will see pawn symbols signifying which side of the meter to put the meter clip depending on the amount of players shown.
Find the amount of players you are playing with on the meter and place the meter clip on that side on the “novice” level.
- Separate each deck and place them in their own individual piles near the game board as follows:
- Storm Deck (red back): Place face-down with the compass pointing to the North, at the top of the desert with room to the side for discards.
- Equipment Deck (blue back): Place face-down on either side of the game board
- Adventurer Deck: When done shuffling, randomly deal 1 card to each player, then put the deck back into the box. The opposite side of the Adventure Decks have a reference guide for players to refer to during the game.
- Players read their Adventurer roles to themselves, then share them with their fellow players to help everyone work as a team throughout the game.
- Take a meter clip and place it on your Adventurer card’s canteen meter so that the clip is in the topmost position.
- Finally, pick up a pawn that matches your Adventurer’s color and place it on the helicopter crash tile in the desert.
You are now ready to play Forbidden Desert!
How to Play Forbidden Desert
The goal in Forbidden Desert is for all players to escape the desert by searching for the 4 missing parts to the flying machine. Once all these parts are found, all players must meet on the Launch Pad tile and fly away.
However, you must first prevent yourselves from dying of thirst, being buried, or being swept away by the Sand Storm.
On your turn, you must perform these 2 steps:
- Take up to 4 Actions
- Draw Storm cards depending on the level of the Sand Storm meter
Actions
You may perform up to 4 of the following actions per turn:
Move
Move your pawn 1 tile per action. The tile you move to must be adjacent (not diagonal) to your current position and cannot be a blocked tile.
A blocked tile is considered blocked when there are 2 or more sand markers on top. You may not move through a Sand Storm space (anywhere there is a tile missing).
Remove Sand
You may remove 1 sand marker per action on any adjacent tile (not diagonal). Once this tile is removed, it gets placed with the rest of the sand markers in a pile next to the game board.
Excavate
If your pawn is on a tile that does not have any sand markers on it, you are allowed to excavate it for 1 action. To excavate, simply flip the tile over while making sure the “city” side shows any icon in the bottom right corner.
Then, follow the instructions depending on the symbol that is shown!
Pick Up a Part
Once you find the hidden location of one of the missing parts, you must go and excavate that tile following normal rules to unblock it first. Once the tile is excavated, you may pick up the missing part for 1 action and keep it in front of you until all 4 have been collected.
Share Water/Pass Equipment
Sharing water and passing equipment to another player is a free action! You must be on the same tile as another player in order to complete this action.
To share water, one player must move the clip on their water canteen down one notch allowing the other player to move theirs up one notch.
To pass equipment, simply hand over one of your equipment cards to another player located on your tile.
Explanation of Special Tiles and Symbols
After you excavate a desert tile, you flip it over to reveal the other side. Once you flip the tile over, a specific action will take place depending on which tile is revealed:
Water Tiles
There are 3 different Water tiles: Oasis, Well, and Mirage.
The Oasis and Well tiles allow any player with a pawn on that tile to immediately add water to their canteen, depending on the amount of water drops shown on the bottom right of the tile. The Oasis provides 1 water, and the Well provides 2 water.
If you reveal the Mirage tile, players on this tile do not receive any water even though it’s considered a “Water” tile.
Gear Tiles
There are a total of 12 Gear tiles that are represented by a symbol of 3 cogs on the bottom right of the tile. If you reveal this tile when excavating, you may pick up an equipment card!
Draw the top card of the equipment deck and reveal it face up in front of you, reading aloud its abilities to the other players. The player who picked up this card is the only player allowed to use it unless it is passed to another player located on the same tile.
Most equipment cards can be used at any time, but you must read each card for specific information.
Part Location Clue Tiles
There are 8 Part Location Clue tiles for the missing parts: propeller, engine, solar crystal, and navigation deck.
There are 2 tiles per missing part. One of the tiles will reveal arrows on its side pointing East and West (row), and the other will show arrows pointing North and South (column).
Once both of these tiles are revealed for the same missing part, the arrows will show you where the part is depending on where the rows and columns intersect.
Place the figure of the missing part on this tile, so all players know where it is located.
NOTE: You can only locate a missing part once both clue tiles are revealed, even if you have a good idea where it may be found. Also, if the part is located on the Sand Storm’s location, continue to place the part here and wait for a new tile to be placed underneath the part.
Tunnel Tiles
There are a total of 3 Tunnel tiles. Tunnel tiles are found on an excavated tile and represented by a symbol of a tunnel opening on the bottom left of the tile.
Tunnel tiles allow you to use one move action to move between any 2 excavated tunnel tiles that do not have more than 2 or more sand markers.
The tunnel tiles provide another benefit when the Sand Storm card “Sun Beats Down” is revealed. If anyone is on a tunnel tile while this card is revealed, they do not need to drink any water!
Launch Pad Tile
There is only 1 Launch Pad tile, and it is one of the most important tiles in the game.
Once all players have successfully picked up all 4 of the missing parts, they must meet on the Launch Pad to build the flying machine and finally escape the desert! You must make sure this tile is not blocked and that all players are on this tile together.
Sand Storm Cards
Once players complete all of their actions on their turn, they must now draw Sand Storm cards.
Sand Storm cards cause mayhem in the desert by moving around and adding sand markers to tiles. They may also force players to drink water, possibly causing a player to die of thirst and lose the game.
If the draw pile ever runs out, shuffle the discard pile and create a new deck.
These are the possible Sand Storm cards you can draw and how to use them:
Wind Blows
When you draw a Wind Blows card (represented by a number of squares pointing in a specific direction), you must move that many tiles in that direction. The tiles must be moved towards the “Storm,” which is the space with no tile.
Therefore, if you pull a Wind Blows card that shows you need to shift 2 tiles to the left, you will move 2 tiles located to the right of the storm so that these tiles move into the storm, making the storm move 2 tiles to the right.
You must add a sand marker to each tile you moved. If a tile already has a sand marker/s or a missing part on it, you will keep these on the tiles and add additional sand markers.
NOTE: If you draw a card that asks you to move 3 tiles, but there are only 2 possible tiles to move, you will only move 2 tiles and ignore the 3rd movement.
Storm Picks Up
Drawing this card forces players to raise the meter clip 1 tick mark on the Sand Storm meter, which will eventually raise the number of cards that need to be drawn each turn.
If the meter ever reaches the skull and crossbones, all players lose the game!
Sun Beats Down
Drawing this card forces players to drink water by lowering their canteen meter down 1 tick. Players who are located on a tunnel tile or have the Solar Shield equipment card in their possession do not need to drink water!
If a player’s canteen marker goes down to the skull and crossbones, that player dies of thirst, and the game is lost for all players!
Additional Rules
Sand Markers
Once a tile has 2 sand markers, the second marker must be flipped over so that the darker side with an “X” is revealed. This shows players that this tile is now blocked, and players cannot move through or onto this tile.
There is no limit to the amount of sand markers that can be placed on a tile. If you need to place a sand marker on a tile that has a missing part, simply place the sand marker underneath the part.
Dig Out
If you are located on a tile that ends up gathering 2 sand markers, you are considered “buried” in the sand. You are now stuck on this tile until you or another player removes sand markers until there is either one or none left, allowing you to move off of the tile.
Buried in the Sand
If you need to place a sand marker but discover there are no more sand markers left to place, all players are considered buried in the sand and lose the game!
Player Abilities
At the beginning of the game you are randomly assigned an adventurer to play as. These adventurers each have their own unique abilities to help escape the desert:
Archeologist: Can remove 2 sand markers from any one tile on the board for only 1 action.
Climber: Allowed to move onto or through blocked tiles with 2 or more sand markers. Climbers and anyone who is on the same tile as a climber may never be buried.
Additionally, Climbers can move a pawn with them onto a blocked tile, and that player’s pawn may leave the climbers tile even if it is blocked (without them being considered buried).
Explorer: Can use Dune Blasters, remove sand, and move diagonally rather than only adjacent.
Meteorologist: May choose to spend actions to avoid drawing Storm cards at the end of their turn (1 action per card avoided).
They may additionally spend 1 action to peek at the top cards of the Storm deck and choose to put one of them at the bottom of the deck. The amount of cards the Meteorologist can peek at is determined by the current Storm meter level.
Navigator: Per action spent, they can move another player’s pawn up to 3 unblocked tiles and/or tunnels!
Additionally, they are allowed to move the Explorer diagonally and move the Climber through blocked tiles since those players have that ability. When the Navigator moves the Climber, they may choose to bring another pawn with them, including the Navigator!
Water Carrier: They start with the largest amount of water and are allowed to share water with players on adjacent tiles for free at any time, not just on the same location.
They also have the ability to take 2 water from an already excavated well but must spend 1 action to do so.
How to Win Forbidden Desert
To win a game of Forbidden Desert, players must collectively find all 4 missing parts and meet each other on the unblocked Launch Pad tile to escape!
Forbidden Desert Video Tutorial
Frequently Asked Questions
Can you play Forbidden Desert solo?
While it is not made to be played solo, you could possibly succeed in doing so if you control more than one adventurer.
Is it easier to play Forbidden Desert with more players?
Not necessarily. While it allows you to utilize the benefits of more player abilities, it also heightens your chance of someone dying of thirst or being buried!
Are there any expansions to Forbidden Desert?
There are no expansions to Forbidden Desert, but it is currently a part of the “Forbidden” series. You could also try out Forbidden Island and Forbidden Sky, which are very similar.
Similar Games to Forbidden Desert (Our Guides)
If you enjoyed reading about Forbidden Desert, check out these similar game guides (if we have covered them):
- Forbidden Island Rules
- Forbidden Sky (guide coming soon)
- Pandemic Rules
- Eldritch Horror (guide coming soon)
- Mysterium Rules